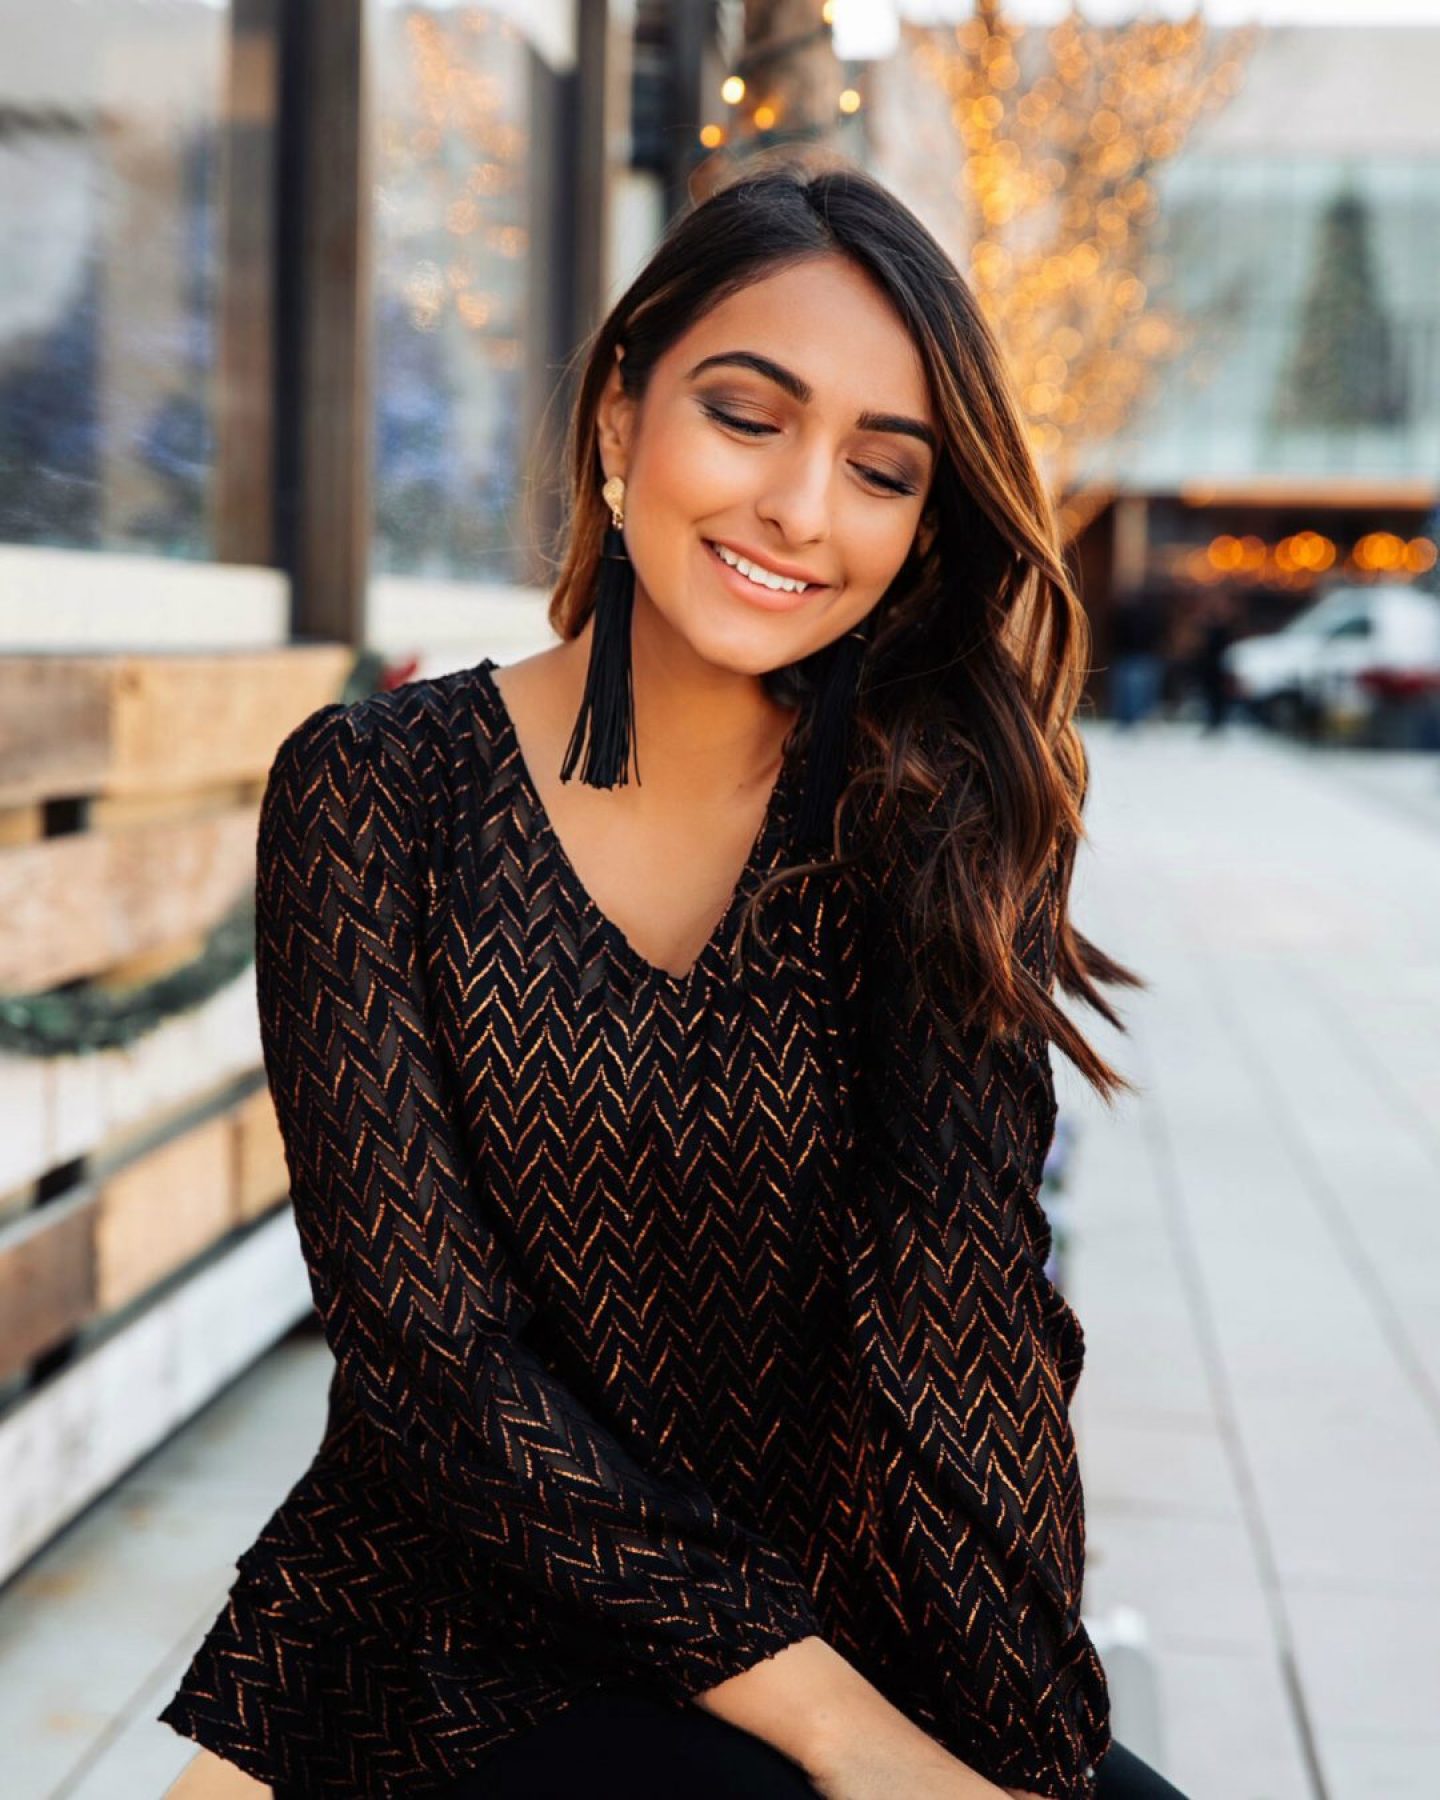
Christmas and NYE have come and gone but that doesn’t mean you can’t amp up your makeup game with a little smokey eye!! This year is all about sparkles and glam for me and I wanted to share my tips and tricks on how to create a simple smokey eye that you can wear for any party!
Smokey eyes can definitely be one of the tougher looks to master but there are a few simple tricks that can make the process a bit easier! For this look, I created my smokey eye all with the new Mary Kay Chromafusion Eye Shadow and Pro Palette (which can hold up to 42 eye shadow shades). I recently got this palette in the mail and have been using the collection ever since! It’s been so easy to travel with just one eyeshadow palette that you can fully customize. The formulation is very soft and smooth and I didn’t experience much fallout from any of the shades either.
To create my look, I used five shades: Biscotti, Hazelnut, Moonstone, Shiny Penny, and Onyx. Here’s my tips and tricks on how to simplify your smokey eye:
You really want a good transition shade because that’s your first step to the gradient of your eyeshadow look.
- Start with your transition shade! It’s so important to start from lightest to darkest when applying your eyeshadow so find a neutral color that you can apply along your crease using slight windshield wiper motions. I used Biscotti for this one!
- Continue building your transition shade with a slightly deeper color like a light, warm brown. I used Hazelnut.
- Add the black eyeshadow (Onyx) near the lash line and blend upwards toward the crease.
- Pat the shimmer on the lid (don’t go past the crease!). Try and press the color in instead of swiping so the shimmer shows up rich. I used Shiny Penny.
- Highlight your brow bone to create more definition to the look. I used a light shimmer from the palette (Moonstone) but you can also use any type of highlighter! This also helps to clean up the look.
Overall, don’t go for perfection! It’s hard to tell in the beginning but at the end, everything is going to be smudged out and blended together for an easy, effortless kind of look. It’s ok to mess up because you’ll be able to blend and clean things up at the end! 🙂
I also mixed a few of the Mary Kay Chromafusion blushes to and applied it to the apple of my cheeks. The collection also has two highlighters (they’re beautifully pigmented so a little goes a long way) right above my cheek to my brow bone!
I hope y’all found this post helpful and be sure to tag me in your smokey eye looks! 🙂 You can shop everything down below! Xo
SHOP THE POST:
This post is sponsored by Mary Kay. As always, all thoughts and opinions are 100% my own. Partnerships like these make Next With Nita possible.


Next time I see you, you’re doing my makeup. And teaching me how to do my eyeshadow without looking like I’m straight out of a 1982 music video. Thanks in advance.
XO Amanda